


Bus Depot version
These are instructions for installing a sliding side door bug screen for a Vanagon Westfalia. All directions are given from inside the van unless otherwise described.
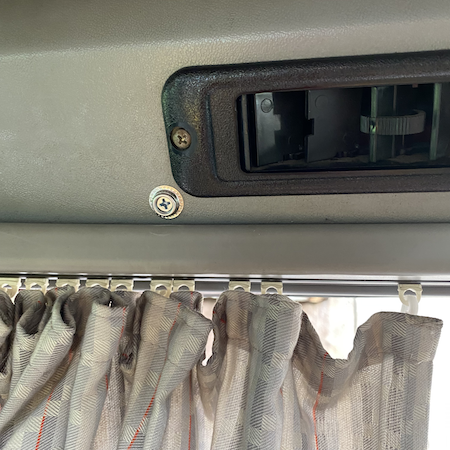
#1 Remove the forward-most screw from the vent above the side opening and install a ‘male’ snap piece with a #4 screw. – This step is necessary for aligning the screen and setting the top rear snap location. You will remove this snap from the vent in a later step.
#2 Hold the screen up to the door and snap the proper snap to the piece you just installed. Now you can spread the screen across the top of the opening and set a location for the top rear snap. You will want to align the top right and the next one down the right-hand side so that the screen hugs the vent channel. Mark the spot carefully and drill hole in the vent channel. (When drilling, let the speed of the drill do the work and don’t press too hard to avoid breaking the bit.)
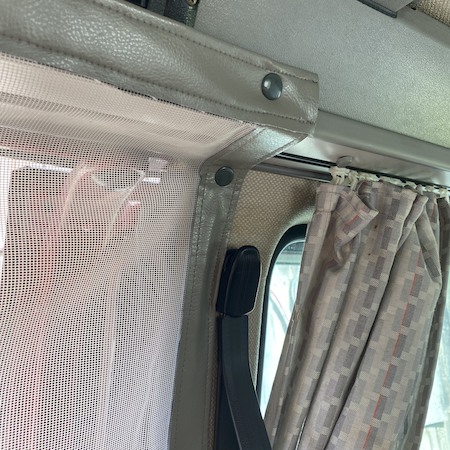
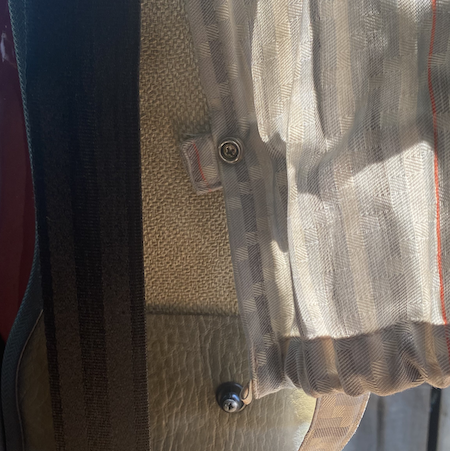
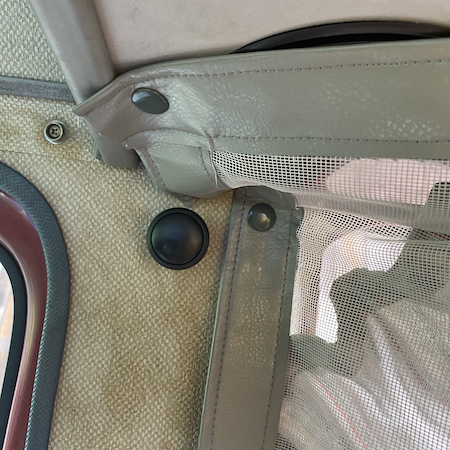
#3 Once the top right and next one down are installed, work your way back across the top of the vent channel. Carefully align the screen and mark the snap location along the edge of the vent channel. Remove the ‘male’ snap you installed earlier and reinstall that snap just below and to the left of the vent. (see photo). Don’t install the forward-most (top left) snap. You’ll install that one later.
#4 With the top of the screen set, go back to the right-hand side and install the snaps going down. Mark your spots carefully so that the screen stays flush against the van. Check that the bottom of the screen is sweeping against the floor. It may not reach all the way. Mine did not and I have to assume that the sizing is not quality controlled. Mine seems an 1/8th of an inch too short. (I couldn’t install the top snaps any lower than I did.)
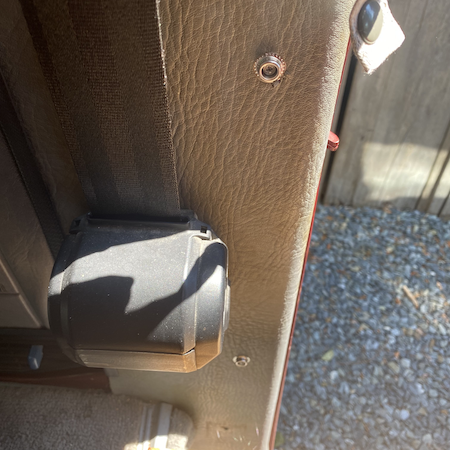
The lower part of the right-hand side requires that the bottom two snaps are mounted on the seat base and not the side of the van. You’ll see that you need to turn the screen edge outwards and align the bottom two from outside of the van.
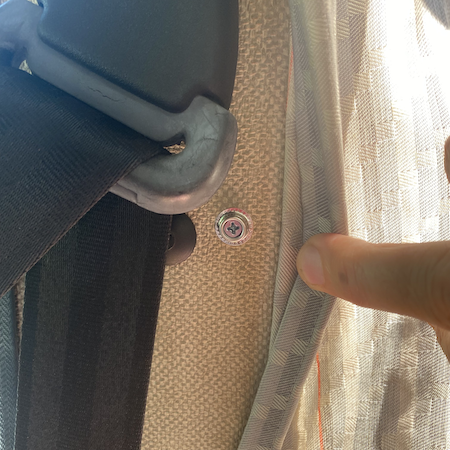
#5 Once the right-hand side is installed, get back in the van and zip the screen so that it’s closed. Now snap the middle of the left-hand side of the screen to the snap that holds back the left curtain.
#6 With the left-hand side middle snapped in place, you can place the other left-hand side snaps. I placed the next one up and the next two down, drilling, mounting and snapping in place as I went saving the top left of the screen for last. The only problem I ran into with the left-hand side was the bottom-most snap. There is a hole in metal behind the lining on the lower left. My snaps aligned in such a way as the bottom-most one would be right over that hole or void so there’s nothing to drill into. I may resort to using a velcro tab in place of a snap there. You may be able to align your snaps better.
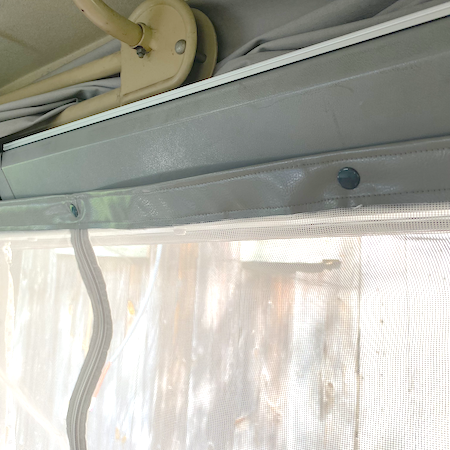
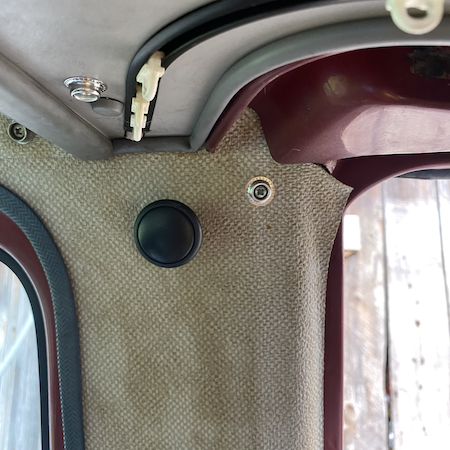
#7 Finally, the top left is a little tricky. Remove the curtain from the track so you can access the underside of the vent channel and the side of the van behind the curtain. With the screen snapped in place everywhere else, line up the remaining snaps so that the top left snap is mounted on the underside of the vent channel and the next one down is mounted on the side near the top of the van.
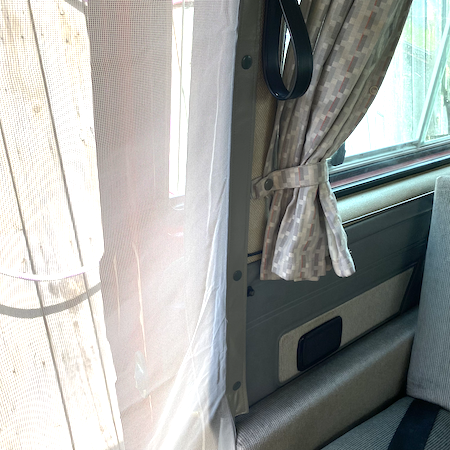
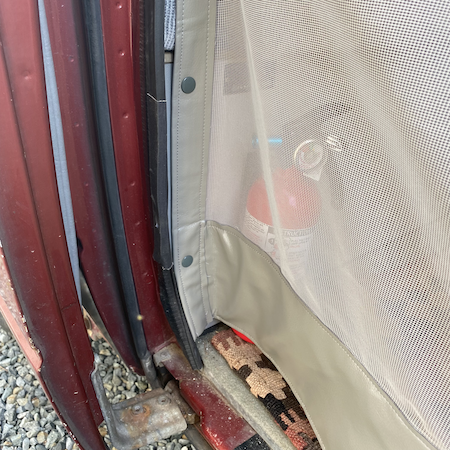
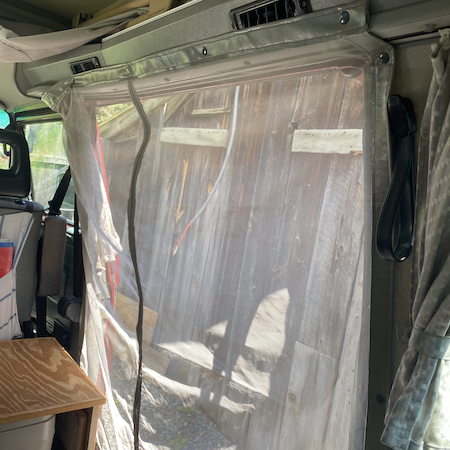
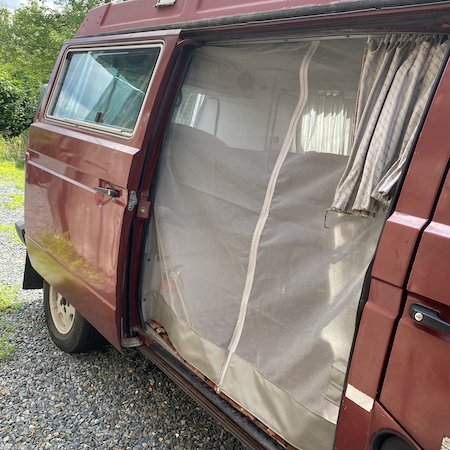
The screen installed…

Thanks! These instructions were really helpful.